Animate a Groovin' Raccoon with Jetpack Compose!

Unleash your inner animator and bring your UI to life! This tutorial guides you through creating a playful dancing raccoon animation using Jetpack Compose’s Animation API.
See the animation in action!
Getting assets
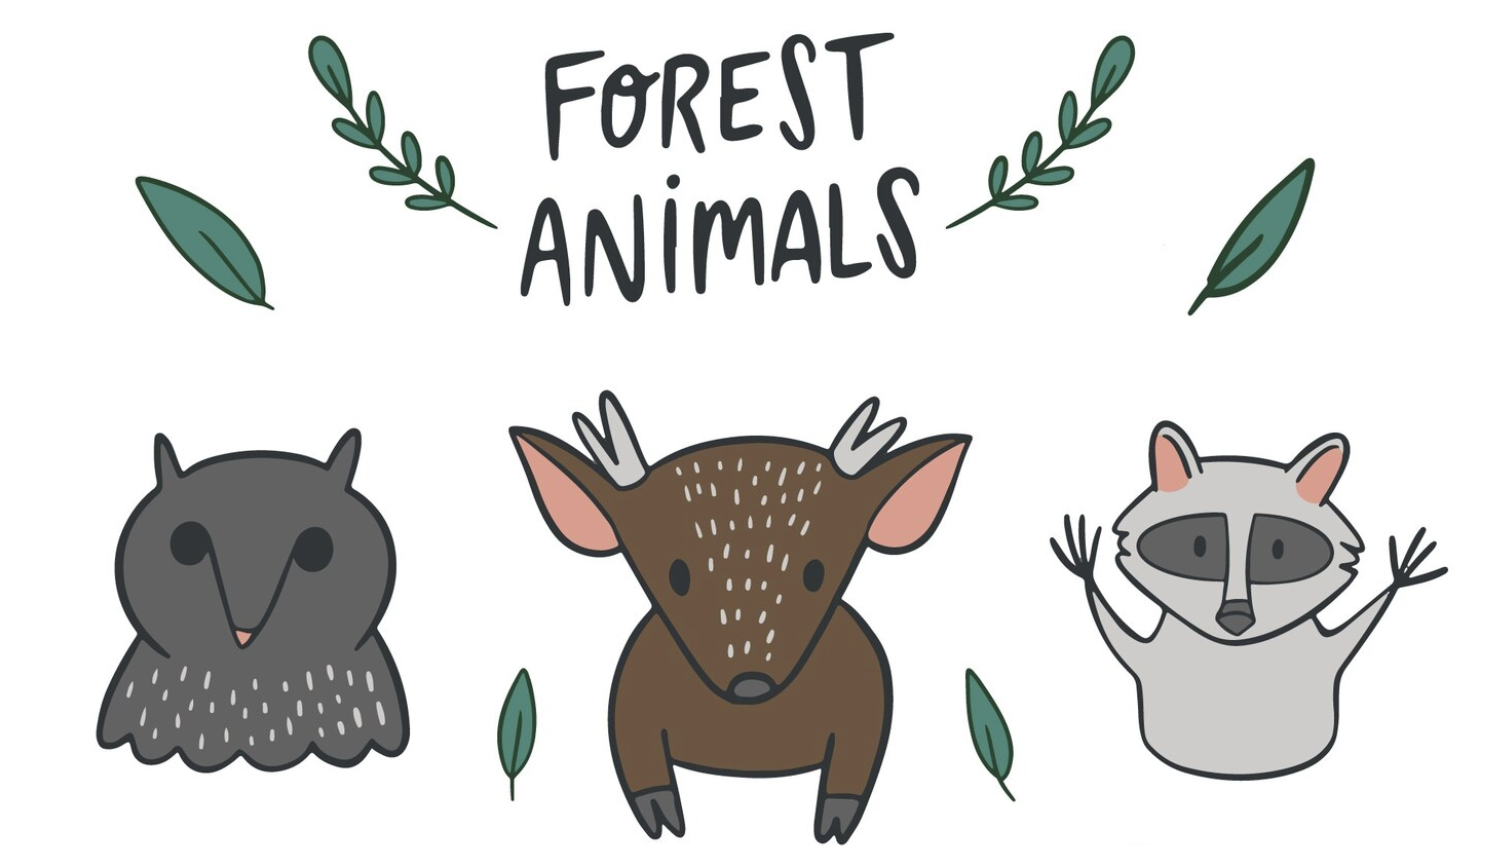
We’ll need an image to animate and I found an SVG raccoon on Freepik in a forest animal collection. Since we want to move the raccoon’s head separately, we’ll need to split the SVG into two files: one for the head and one for the body.

There are many tools for editing SVGs and I used Inkscape. If editing the SVG isn’t your thing, no worries! I’ve already prepared both head and body SVG files you can download by clicking here. This way you can jump right into the animation fun.
Setting up a project
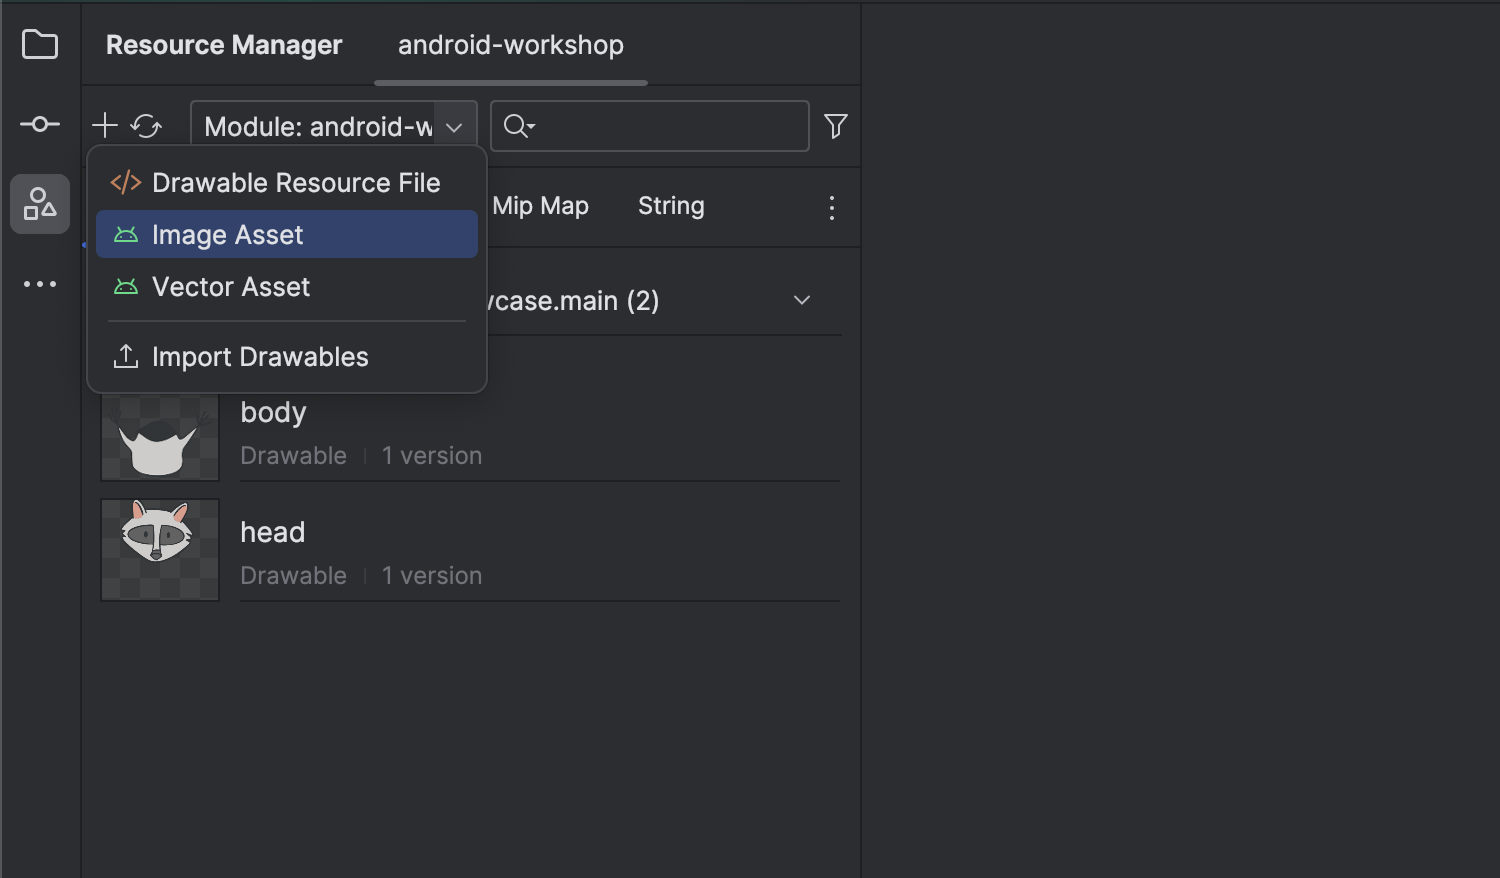
Use the Resource Manager in Android Studio to import the SVGs into your project.

We will need Jetpack Compose dependencies in the project, which you can find in the documentation. Once everything is done, we are ready to write code!
Creating a component
Let’s start by building a simple component that shows a raccoon in a fixed position. We’ll then add a parameter to make its head move down by X pixels.
1
2
3
4
5
6
7
8
9
10
11
12
13
14
15
16
17
18
19
20
21
22
23
@Composable
fun Racoon(
    modifier: Modifier = Modifier,
    headDrop: Float,
) {
    Box(
        modifier = modifier
    ) {
        Image(
            modifier = Modifier
                .fillMaxSize(),
            painter = painterResource(id = R.drawable.body),
            contentDescription = "Body"
        )
        Image(
            modifier = Modifier
                .fillMaxSize()
                .graphicsLayer { translationY = headDrop },
            painter = painterResource(id = R.drawable.head),
            contentDescription = "Head"
        )
    }
}
The head’s vertical movement will be controlled by the Modifier.graphicsLayer().
The Circular Mask
Another component we need to create is the background… or the foreground. This component will essentially act like a mask, covering the entire screen except for a specific area in the middle. It’s important to position this component on top of (higher in the composable hierarchy) the raccoon component. This ensures the raccoon can be hidden behind the mask when needed.
To achieve that, we’ll use the use the .drawBehind() modifier and the DrawScope.
Then we need to set up a radialGradient in the way it instantly changes from Transparent to Black in a calculated position.
1
2
3
4
5
6
7
8
9
10
11
12
13
14
15
16
17
18
19
20
@Composable
fun CircularMask(
    modifier: Modifier = Modifier,
    radius: Dp,
) {
    val radiusPx = with(LocalDensity.current) { radius.toPx() }
    Box(
        modifier = Modifier
            .fillMaxSize()
            .drawBehind {
                val brushRadius = radiusPx / minOf(size.width, size.height)
                val brush = Brush.radialGradient(
                    brushRadius to Color.Transparent,
                    brushRadius to Color.Black,
                )
                drawRect(brush)
            }
            .then(modifier),
    )
}
Animation
Android Documentation provides a decision tree to choose right API for a specific type of animation. You can find it here
To manage the animation effectively, we’ll be using the InfiniteTransition API.
We can create an instance of InfiniteTransition using the rememberInfiniteTransition function.
Once created, we can specify the value we want to animate, such as position or size, using the animateFloat function.
To create a continuously repeating animation, we’ll utilize the infiniteRepeatable animation spec.
Finally, we can pass the animated value to our Racoon component to control its behavior based on the animation.
1
2
3
4
5
6
7
8
9
10
11
12
13
14
15
16
@Composable
fun RacoonAnimation(modifier: Modifier = Modifier) {
    val infiniteTransition = rememberInfiniteTransition(label = "Racoon")

    val headDrop by infiniteTransition.animateFloat(
        initialValue = 100f,
        targetValue = 150f,
        animationSpec = infiniteRepeatable(
            animation = tween(durationMillis = 250),
            repeatMode = RepeatMode.Reverse
        ),
        label = "Head Drop"
    )

    Racoon(headDrop = headDrop)
}
We also need to add 2 more animations: rotation and the vertical movement of the racoon.
1
2
3
4
5
6
7
8
9
10
11
12
13
14
15
16
17
18
19
val rotate by infiniteTransition.animateFloat(
    initialValue = 359f,
    targetValue = 0f,
    animationSpec = infiniteRepeatable(
        animation = tween(durationMillis = 6000, easing = LinearEasing),
        repeatMode = RepeatMode.Restart
    ),
    label = "Rotate"
)

val verticalMovement by infiniteTransition.animateFloat(
    initialValue = 600f,
    targetValue = 100f,
    animationSpec = infiniteRepeatable(
        animation = tween(durationMillis = 9000, easing = LinearEasing),
        repeatMode = RepeatMode.Reverse
    ),
    label = "Vertical Movement"
)
Now, let’s bring everything together!
1
2
3
4
5
6
7
8
9
10
11
12
13
14
15
16
17
18
19
20
21
22
23
24
25
26
27
28
29
30
31
32
33
34
35
36
37
38
39
40
41
42
43
44
45
46
47
48
49
50
51
52
53
54
@Composable
fun RacoonAnimation(modifier: Modifier = Modifier) {
    val infiniteTransition = rememberInfiniteTransition(label = "Racoon")

    val headDrop by infiniteTransition.animateFloat(
        initialValue = 100f,
        targetValue = 150f,
        animationSpec = infiniteRepeatable(
            animation = tween(durationMillis = 250),
            repeatMode = RepeatMode.Reverse
        ),
        label = "Head Drop"
    )

    val rotate by infiniteTransition.animateFloat(
        initialValue = 359f,
        targetValue = 0f,
        animationSpec = infiniteRepeatable(
            animation = tween(durationMillis = 6000, easing = LinearEasing),
            repeatMode = RepeatMode.Restart
        ),
        label = "Rotate"
    )

    val verticalMovement by infiniteTransition.animateFloat(
        initialValue = 600f,
        targetValue = 100f,
        animationSpec = infiniteRepeatable(
            animation = tween(durationMillis = 9000, easing = LinearEasing),
            repeatMode = RepeatMode.Reverse
        ),
        label = "Vertical Movement"
    )

    Box(
        modifier = Modifier
            .fillMaxSize()
            .background(Color.White)
            .graphicsLayer {
                rotationZ = rotate
            },
        contentAlignment = Alignment.Center,
    ) {
        Racoon(
            modifier = Modifier
                .size(300.dp)
                .graphicsLayer {
                    this.translationY = verticalMovement
                },
            headDrop = headDrop
        )
    }
    CircularMask(radius = 310.dp)
}
Final thoughts
Congratulations! With the concepts covered in this tutorial, you’ve successfully created a basic animation in Jetpack Compose. Remember, practice makes perfect. Experiment with different animation types and values to create unique and engaging experiences for your users.
To see the complete code implementation, check out the link to my repository in the Useful Links section below.
Useful links